ECO-160 X
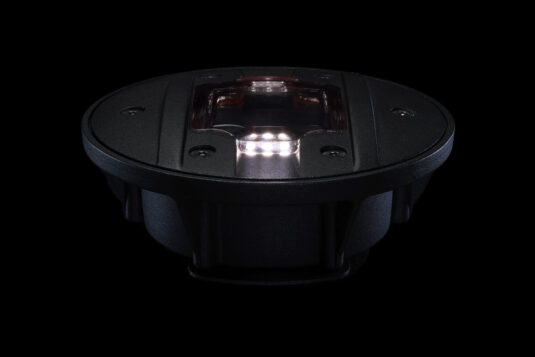
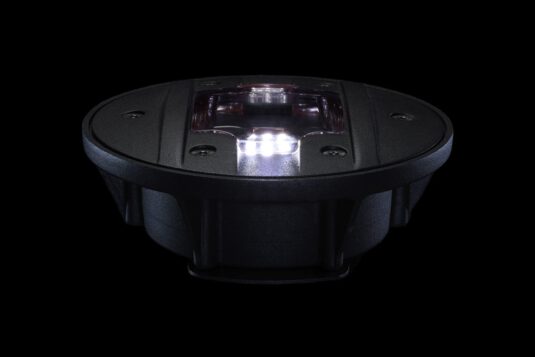
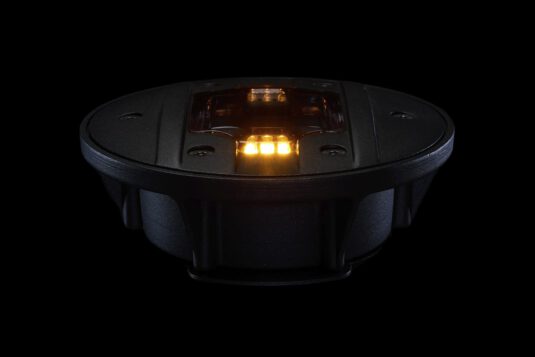
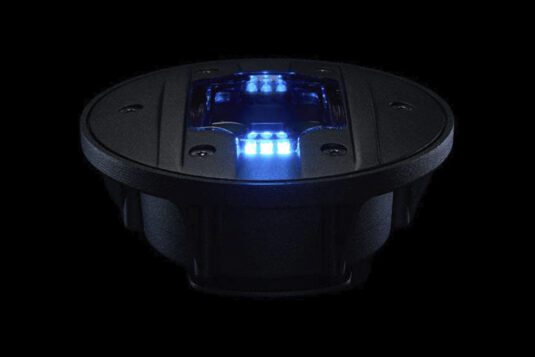
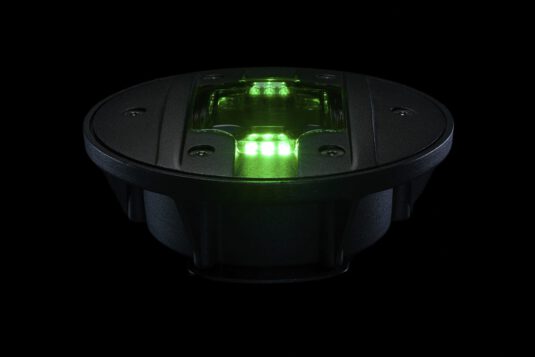
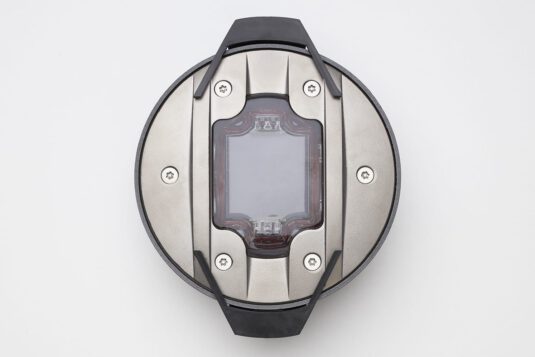
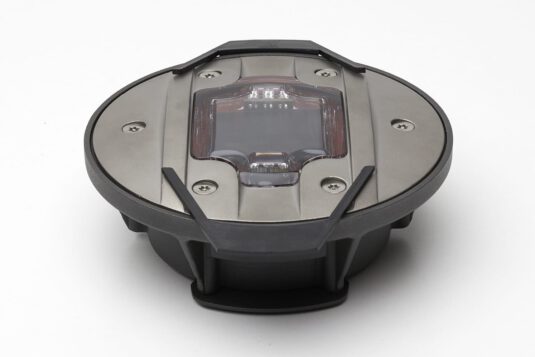
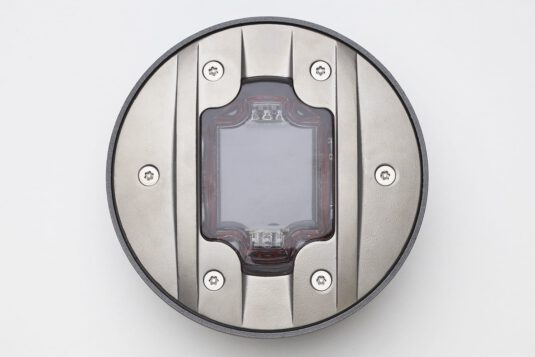
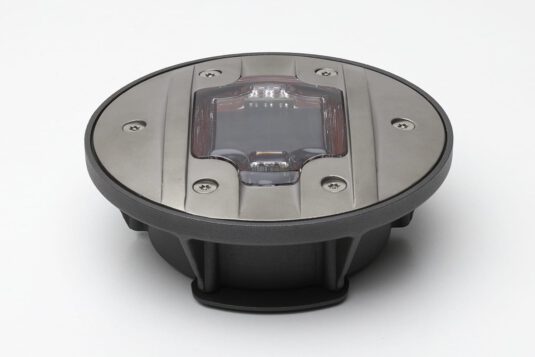
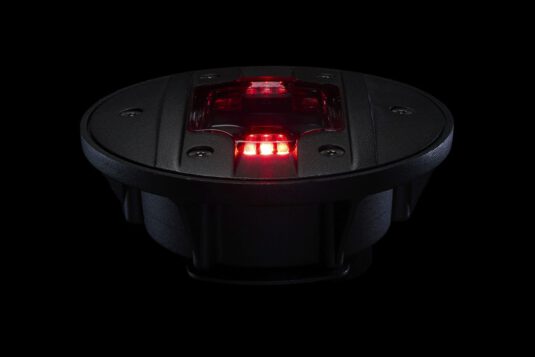
 Recessed solar stud
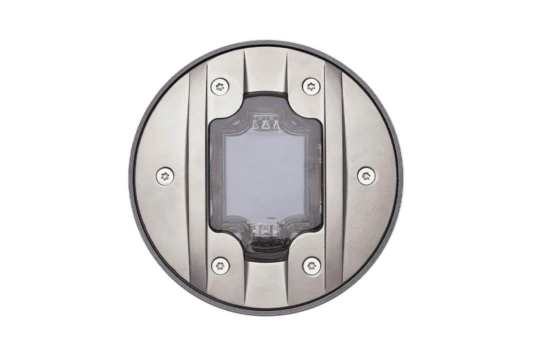
Stainless steel solar panel with GPS
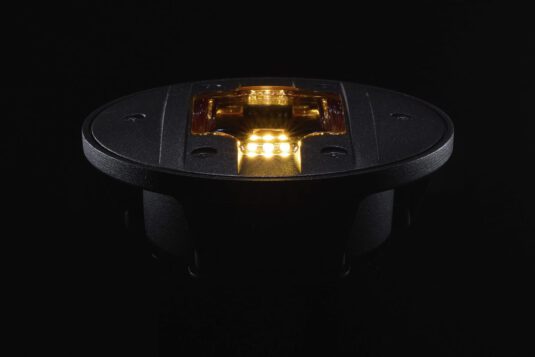
With its high-strength 329LN stainless steel construction, the ECO-160 X offers solar-powered lighting suitable for the most demanding environments. Designed for environments subject to high mechanical or saline stress, it combines protection for the photovoltaic module, a low-profile design for safety, and easy maintenance for long-term operation. Available as an option with the latest-generation GPS technology, it automatically synchronizes its flashing with all beacons at the same site.
Translated with DeepL.com (free version)
Applications
- Pontoon & Footbridge
- Cycle track
- Parking
- Road & Expressway
- Pedestrian crossing
- Roundabout
Features
- Colors temperature


- Materials
Stainless steel 329LN (cover), Anodized aluminium (tank), Polycarbonate (optic module), Silicon (photovoltaic module)
- Protection ratings (IP)
IP 68 – 5 metres
- Impact energy
IK10 + 100 J - suitable for 40-tonne trucks
- Weight
1.6 kg
- Dimensions
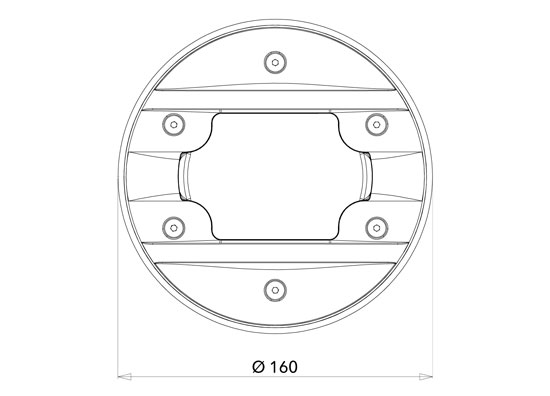
Top diameter: 160 mm
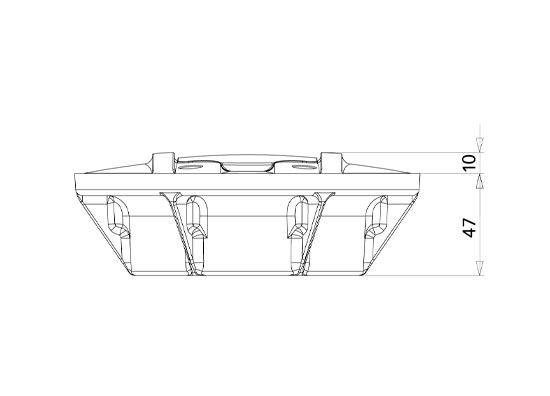
Total height: 57 mm
Embedding depth: 47 mm
Off-pavement bracket projection: 0 mm at ends / 10 mm at center.
- Energy storage
Capacitor / Ni-Mh batteries
- Operating temperatures
-30°C to +85°C
- Customization
Stainless steel cover
- LED
3 LED, 6 LED
- Characteristics
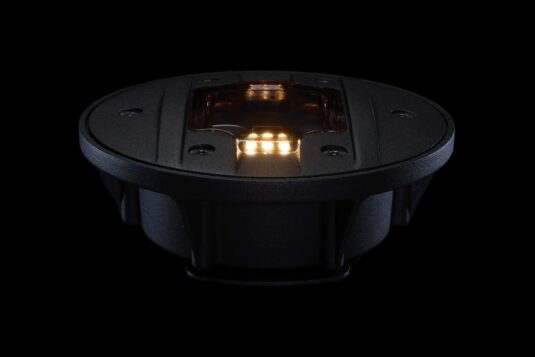
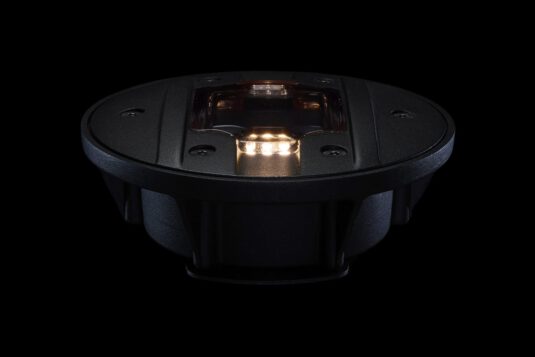
Unidirectional 3 LED wayfinding or bidirectional 3 LED wayfinding on each side
Fixed or flashing mode (1 flash per second +-10%)
GPS option for synchronizing flashing between studs without wiring, with NiMh batteries only.
Installation
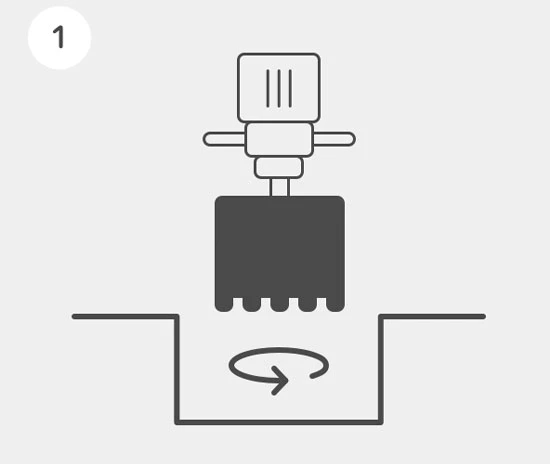
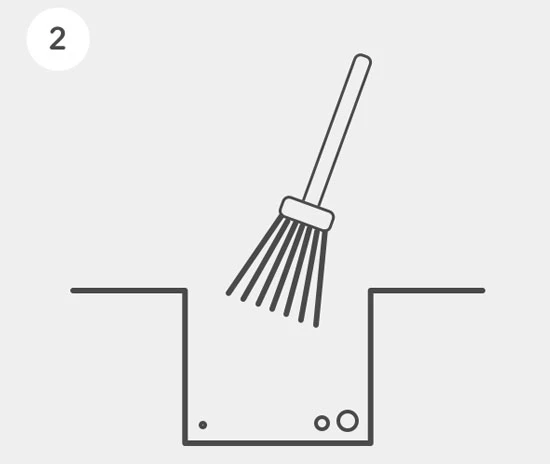
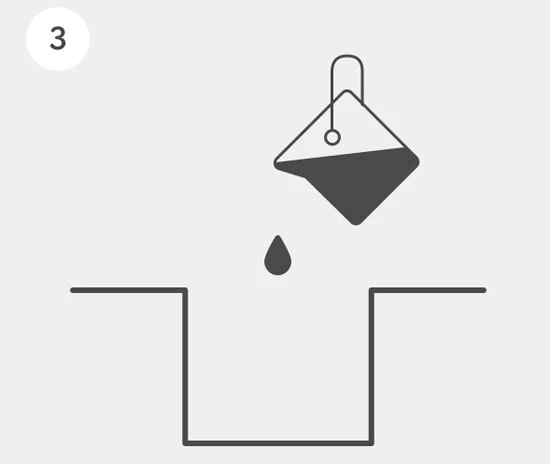
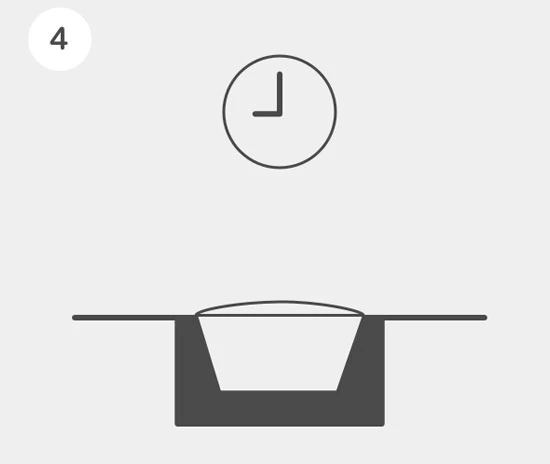
Choice of adhesive – For installation on sites where vehicles are likely to drive over the pads, we recommend the use of SIKADUR 42+ HE adhesive. Installation must be carried out at suitable temperatures, respecting the curing time required before reopening to traffic (see adhesive instructions). Any other choice of adhesive is the responsibility of the installer.
1 – Install a mounting accessory on each stud by screwing it onto the cover using the 2 threaded holes provided. Then fold the 4 flaps of the accessory upwards at 90°. This positions the accessory tabs so that the stud is held at the correct level when installed in the core hole.
2 – After locating the studs, drill a circular core with a minimum diameter of 170 mm and a minimum depth of 70 mm.
3 – Fill the hole with sufficient sealant, then insert the stud, taking care to align the LEDs. The 4 legs of the installation accessory must come into contact with the substrate. The glue should run up to flush with the floor all around the stud. Remember to smooth the joint for a neat installation.
4 – Keep the weight on the stud and allow the seal to set long enough before applying any mechanical stress. Once the sealant is dry and strong, unscrew and remove the installation accessory.
Note – Throughout these operations, keep the solar module and LEDs clean and protected.
Failure to comply with these instructions may result in suspension of the warranty.
Warranty
ENERGY STORAGE
Ni-Mh batteries: average lifespan over 7 years. 2-year warranty
Easy maintenance with 6 stainless steel cover screws, without having to unseal the recessed bowl.
* The warranty applies in the event of permanent shutdown of the autonomous lighting system under normal use and installation in accordance with our recommendations. It consists of replacing the faulty component with an identical or equivalent item, subject to return to ECO-INNOV for analysis. On-site intervention costs are not included. Mechanical damage is not covered.
We recommend installing our solar equipment on sites with good light exposure for optimum performance.
Recycling


Certifications

